• Posts tagged "art"

Blog Archives

Low-Cost Library Programming for Teens

As a solo librarian running a rural community library, you learn to make programs on a shoestring budget, sometimes out of literal shoestrings.

But I find some of these programs are the biggest hits, especially with teens.

Budget Teen Summer Reading Mega Hits have been:

Frisbee Golf:
     Supplies: Frisbees/flying disks, check the summer party section or hit up local businesses, printed numbers, paper & pens to keep score with, outdoor space.
     I have the teens place the numbers that dictate the “holes”. They can change them every round if they like. Look, we aren’t sticklers for Frisbee golf rules, but if your teens are so inclined, you could be. 

Salvaged Book Art:

The sky is the limit here. I am positive every library has old musty books to retire, either from donations or discards. 

Supplies:
Discarded books & magazines in an assortment of sizes, bindings & styles
Paint & brushes
Glue
Sponges
Tape, washi tape & Duct tape
Stencils
Glitter. Be brave. Get out the glitter. Teens can run a vacuum, you know.
Colored paper
Dollar store frames
Findings: Brads, adhesive Velcro, snaps, broach-style pins

I didn’t plan one specific craft for this program, but we’ve made journals, wallets & ornaments in the past. This time, I opened up Google images & showed the teens what other people have made. Then I cut them loose.

I heard a lot of “I dunnooooo, I’m not creative. I’m not an artist.” And then “My room’s going to look SO COOL!”


Library Game Days:
Supplies: Whatever games you have at home, whatever you can get your Friends group or district to stock the library with.
I do a retro video game station with the projector & either my personal NES, Sega & district’s Wii from 2008.
Snacks.

Most popular table-top games at my library are:

I was wedged into the corner to take this photo. Every available space in my little library was full for International Game Day, 2016. This is a really great program to get involved with, organized by ALA . You can receive free games & promotional materials. Every year, it brings new people into my library.

Actually, there’s a story about how successful that IGD was. My clerk started asking me if I wanted her to vacuum, and if I wanted us to leave together. I thought she was just being thorough. No. It was an hour past closing & I hadn’t made one motion to close up. Everyone was having such a joyous time that we all lost track of the clock. I suddenly blurted out, “We’re closed! An hour ago!” All hands were instantly on deck, cleaning & putting things away. Nobody had noticed or at least nobody wanted to alert the spacey librarian that it was time to go home. 😉 (Please ignore the prominent garbage can. Sometimes we need all the visual clues they can get.)

There are three of my most popular teen library program ideas for any budget. These got a LOT of bang for our buck.

Dabbling in Watercolors

I’ve started playing with watercolor paints.

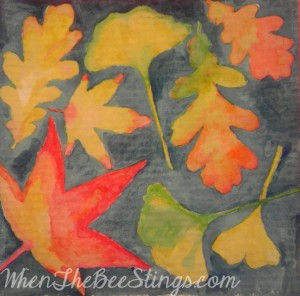
For this first one, I gathered fall leaves & traced them directly onto 8″x8″ watercolor paper. The small size really appeals to me just starting out, because it isn’t a huge commitment. I actually used Roseart watercolor paints for this. I enjoyed how easy they were to blend.

Watercolor Leaves


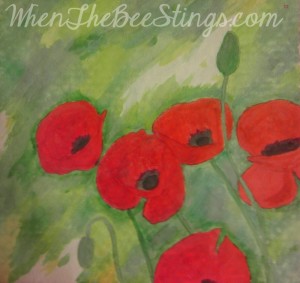
For this one, I used a photo of poppies as a reference. Poppies are great for beginners, because their shapes are so fluid & forgive a lot of mistakes.

Watercolor Poppies


I used a different set of water color paints for this one & was frustrated the entire time. I bought them at Joann Fabrics & Crafts & they were so terrible. The didn’t dissolve at all & there were chunks of filler in the pigment. It was very frustrating, considering I thought I was moving up a notch by buying something other than RoseArt. I have since been given some nicer watercolors!

Beginning Manga Drawing & Writing: Resources & Supplies

My teen daughter is the president of our local Manga Club. She has taught craft sessions at our local library, teaching kids & teens how to start drawing & writing manga. Here is her list of Resources & Supplies for the Beginning Manga Artist.

A post of Beginning Manga Drawing: Tips & Beginning Manga Drawing: Digital Art is to follow.

Manga Supplies

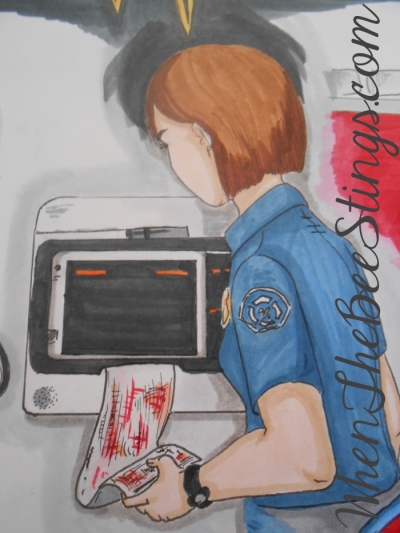
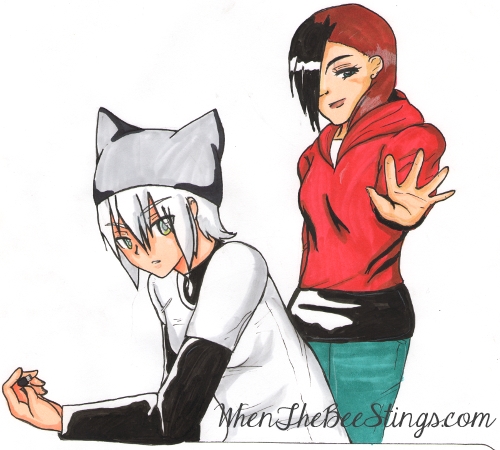
Manga supplies used: Copic markers, Bee paper & Sakura Pigma-Sensei pens.

There are many people who want to start drawing manga, but have no idea where to begin. It might seem like professional manga artists use extremely advanced supplies to make their illustrations, but there are actually a few basic tools you can use to make amazing art. You do not need to be held-back by your budget.

Books:

Anything by Christopher Hart, but THE best is Manga For the Beginner. It teaches anatomy/perspective as well as character design and how to set up scenes. Hart’s books can range from the super beginner stage to more advanced, specific subjects (like drawing hands).

Other Christopher Hart books that are very good:

Kamikaze Factory’s Kodomo Manga: Super Cute! shows you the elements of making kodomo manga (manga for kids; think Pokemon) illustrations and also teaches you how to use Adobe Photoshop for illustrations. However, their steps can be used with other, non-digital mediums.

Kamikaze Factory’s Shonen Manga: Action-Packed shows you the elements of making shonen manga (manga for boys; think Dragon Ball Z) & has many of the same helpful resources as their Kodomo book does.

Your favorite manga or comics. You can’t draw manga without reading manga.

Online resources: 

Printable manga and comic panels can help the beginning manga artist build an eye for how to lay out their stories & save time & frustration. DonnaYoung.org has over two dozen free printable manga panels in many different styles.

YouTube: You can look up tutorials for drawing manga, making comics, and viewing speed drawings. Watch the step by step videos and pause if you need more time to complete the step before moving on to the next.

Manga Supplies

Supplies: Copic markers, Sakura Pigma-Sensei pens, white printer paper, white colored pencil highlights.

Supplies:

Pencils:

I use .07 mechanical pencils for manga illustrations. You can buy pencils of various hardness for sketching or finished pencil
illustrations, the softer leads being particularly nice for shading.
However, if you plan on inking an illustration, a hard, sharp lead pencil works best.

Pens:
Inking:

My favorite manga inking pens are Sakura‘s line of Pigma-sensei pens. They come in sets of different sizes or individually. Sakura Pigma-sensei cost about $16 for a set of four, including a pencil and eraser.

Faber-Castell also sells manga inking supplies, their PITT artist pens. These take longer to dry than Sakura’s pens and tend to smudge when used with water or alcohol based markers.

You can also use Regular and Super Fine Point black Sharpies, but they don’t work with water or alcohol-based markers & they do bleed through the paper so their use is limited.

Coloring:

Copics markers are the industry-standard, alcohol-based markers. They dry quickly and don’t fade. The Copic website has tutorials & giveaways.

A slightly cheaper alternative to Copic are Prismacolor markers. They have many of the same properties as Copics do, and have the same restrictions when it comes to using them with inking pens (ie, you can’t use them with Sharpies or Faber-Castell’s pens.)

You don’t have to buy markers that specifically say “Manga Markers” on them. This is the company marketing to the new niche.

Paper:

The Bee Paper Company sells paper specifically for manga illustrations, and they come in many different sizes.

But you don’t have to buy paper that says it’s specifically for manga. I use white, heavy duty, 8×11.5 printer paper for manga illustrations. Card stock is heavier and more durable. These are cheaper alternatives that work just as well. You want smooth paper, with no texture.

For sketching, use whatever scrap paper you have around. The back of homework, your place-mat at the restaurant, whatever. It takes a lot of practice & paper to hone your art!

Erasers:

Vinyl (white) erasers are soft and erase cleaner than standard erasers, making them desirable when it comes to erasing pencil lines after inking an illustration. Pink erasers (like you might use at school) are good for sketches. There’s no specific brand that appeals to me, so whatever is cheapest is the best bet.

Gum and kneaded erasers are meant for powdery graphite and charcoal illustrations and don’t really suit the knead (pun intended) of many manga artists.

Time:

But, however many cool supplies and tools you have, the most important thing is to take the time to improve yourself. Nobody is born an artist. Time & practice are the most important supplies for any artist, you just can’t see the hours of daily work your favorite manga author has put into their craft. Every artist has a trash can full of crumpled up papers.

It takes time, determination, and tenacity to improve your skills. There will be times when you get bored of it, when you are downcast by the skills of others, when you want to quit. Just remember that someday, if you stick with it and work hard, you can be the manga artist that others look up to.

There are links in this post that are Amazon Associate links & I receive a percentage of sales made after clicking those links. My opinions aren’t biased by this. All proceeds received from my Amazon Associate account go towards the kids’ homeschooling materials & supplies.